
Introduction
Common Mistakes When Bleaching Hair at Home and How to Avoid Them,,,, bleaching is one of the most aggressive chemical processes for hair, and although many choose to do it at home to save money or avoid a visit to the salon, the truth is that doing it wrong can cause irreversible damage. Burnt hair, breakage, loss of elasticity, uneven color and even scalp reactions are just some of the consequences of unknowingly bleaching.
Proper bleaching is not simply mixing powder and oxidant. It involves understanding the hair structure, knowing the exact timing, the right choice of products, and above all, avoiding the most common mistakes that are often made at home.
In this guide, I detail the most common mistakes I see in people who bleach their hair on their own and how you can avoid them step by step, with real, technical and applicable tips to achieve safe results. applicable tips to achieve safe results.
1. Using oxidizers that are too strong
One of the most repeated mistakes is to assume that the stronger the oxidant (peroxide), the faster or clearer the result will be. This is why many people buy 40-volume oxidizers directly without knowing that this can cause extreme damage.
What does the 40-volume oxidizer do?
It speeds up the process, but in doing so, it raises the pH of the hair too high, opens the cuticle too much and weakens the hair cortex, causing massive loss of protein and moisture.
Smart Solutions Recommended Products
Professional solution:
Use 20 or 30 volume oxidizers if your hair is virgin. For color-treated or porous hair, even a 10 or 20 can be enough if you combine it with time and care.
2. Do not perform a tuft test
The strand test is not optional. It’s the only real way to know how your hair will react to bleaching. Many people skip it out of anxiety or ignorance, and then are surprised with breakage, breakage, burns or unexpected tones. It is very important to use high quality products, here is the product recommended by the most demanding colorists.

Solution:
Take a small hidden lock of hair (behind the ear or at the nape of the neck), apply the bleach as you normally would and wait the full time. See if it lightens well, if it stretches too much or if it cuts when styling. That test gives you a clear idea of how to proceed.
3. Apply the bleach directly from the root.
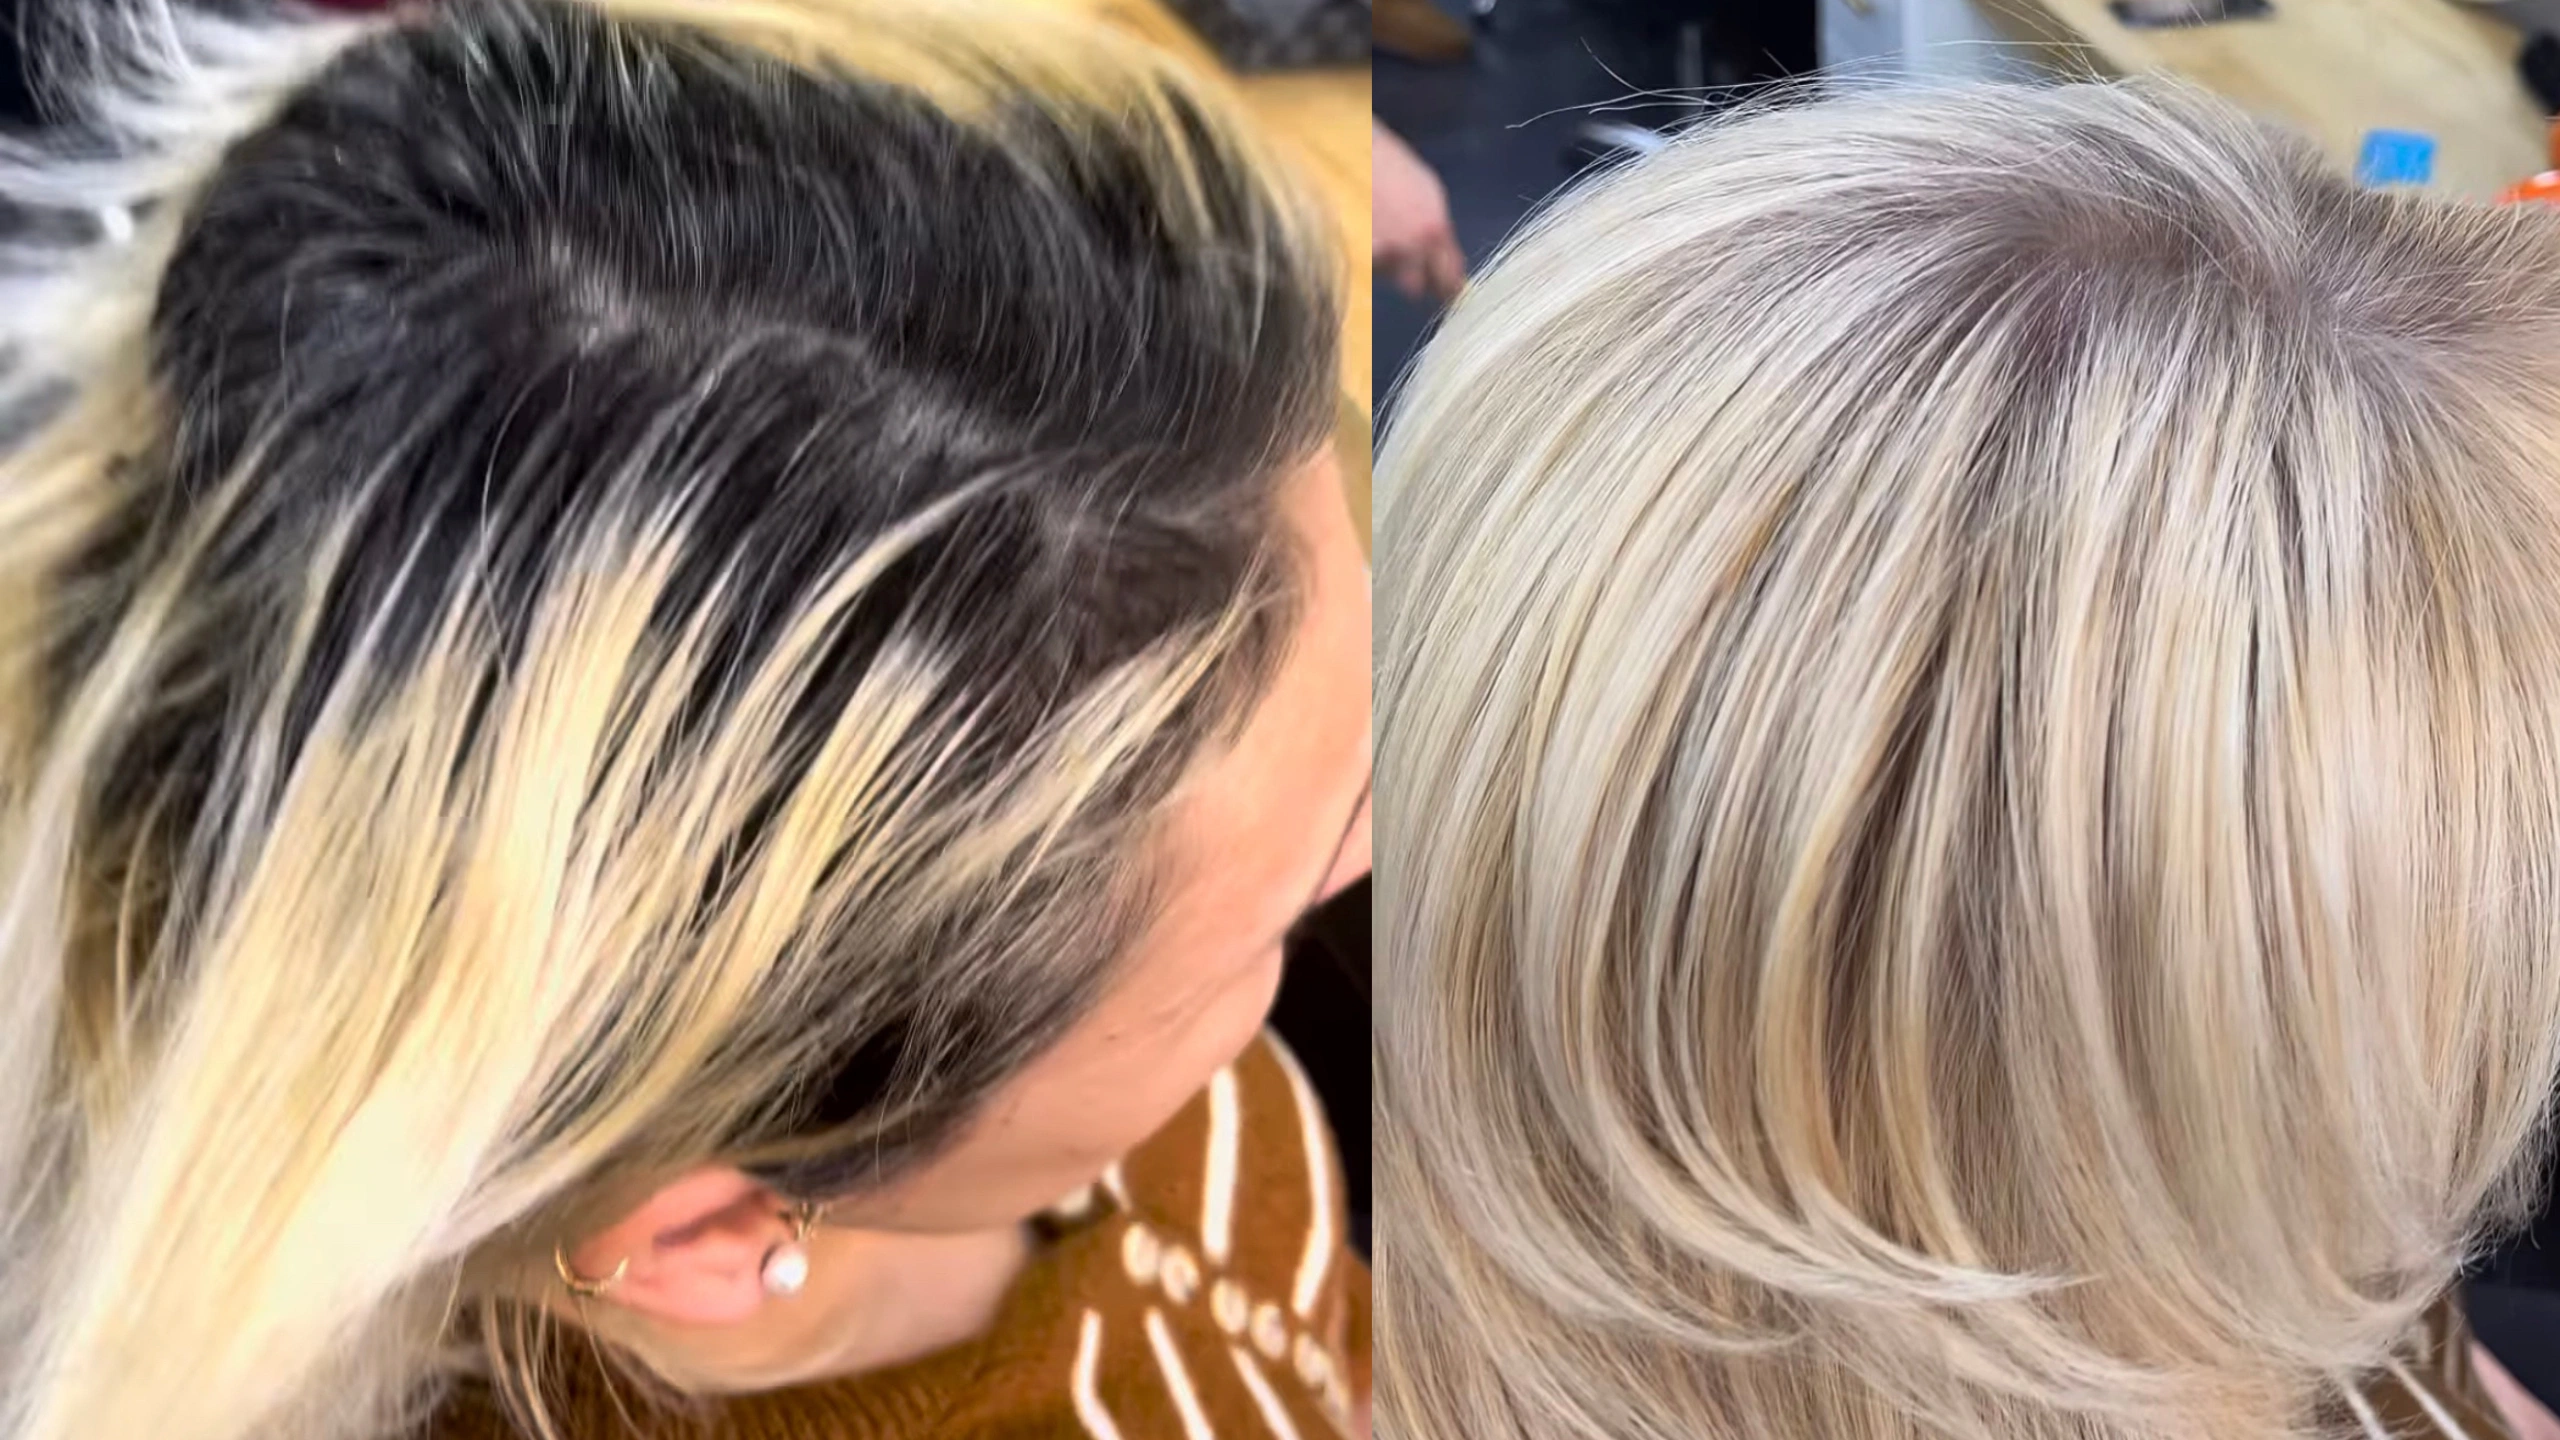
The root of the hair is warmer due to its proximity to the scalp. This temperature accelerates the chemical process and causes the root to lighten much faster than the rest, generating a “helmet” effect or white roots with orange lengths.
Solution:
First apply the bleach to the mid-lengths and ends. Wait 15 to 20 minutes, and then apply to the roots. This balances the process and allows a more uniform result.
4. Failure to control exposure time
Believing that leaving the bleach on longer will make the hair lighter is another common mistake. Exceeding the recommended time can literally cause the hair to disintegrate.
Solution:
Read the product package. Most of them indicate between 30 and 45 minutes maximum. Use a timer. And if you need more clarification, do it in two separate sessions, never in one.
5. Choosing cheap or low quality products
Not all bleaching products are the same. Cheap brands often have harsh chemicals, are not dermatologically tested and do not offer internal protection.
Solution:
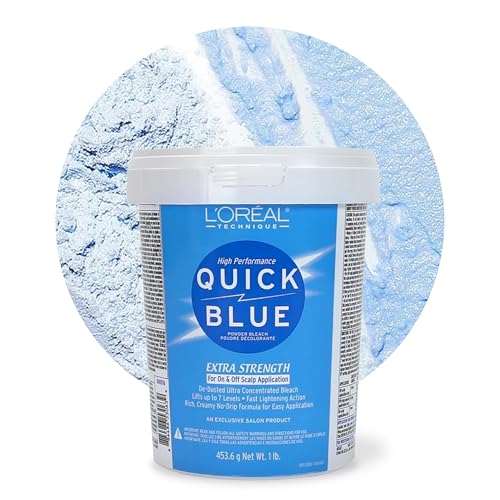
Invest in professional products. There are kits designed for home use but with professional quality, containing bleaches with keratin, plex or collagen protectors.
6. Do not shade after bleaching
After bleaching, the hair is always left with residual pigments. It can be yellow, orange or even greenish if there was a reaction with metals or old pigments.
Solution:
Use a toner (tonalizer) or violet, blue or silver toner or shampoo.. Choose according to the color you want to neutralize:
- Yellow ➔ Violet
- Orange ➔ Blue
- Red ➔ Green (less common).
7. Failure to protect the scalp and skin
Applying bleach without a barrier can irritate, sting or even burn the skin.
Solution:
Use petroleum jelly or a thick cream on the hairline, ears and neck. Do not apply the product on wounds, pimples or sensitive areas.
8. Bleaching without analyzing the current condition of the hair
Is your hair weak, does it have old dyes, keratin, straightening or previous treatments? If you don’t analyze that, the damage can be much greater.
Solution:
Do an elasticity test. Wet a strand and stretch it. If it stretches and doesn’t come back, it’s over-processed and you shouldn’t bleach.
9. Repeat bleaching the same day
When the hair is not as clear as you wanted it to be, many people repeat the process instantly. Big mistake.
Solution:
Wait at least 2 to 3 weeks before bleaching again. Use that time to deeply moisturize.
10. Do not moisturize before or after bleaching.
Hair that is dry or damaged before bleaching will suffer three times as much. And if you don’t moisturize it afterwards, the damage is multiplied.
Solution:
- Before: Use moisturizing masks for at least 1 week prior.
- After: Apply ampoules, oils and repairing treatments. Do not use a flat iron or blow dryer for the first few days.
Additional tips for safe at-home bleaching
- Don’t improvise. Have everything ready: gloves, brushes, protective coating, timer, products.
- Work in sections. Divide the hair in 4 zones and work one by one.
- Never bleach in hot or steamy environments.
- Maintain adequate ventilation. Peroxide gives off strong fumes.
- If you notice burning, intense itching or stinging sensation, rinse immediately.
Recommended products
- Professional bleach with plex.
- Oxidizer 20/30 vol.
- Violet or blue tonalizer.
- Sulfate-free shampoo.
- Repairing mask with keratin.
- Pure argan oil.
When to consult a professional?
If your hair is springy, chemically cut, extremely porous or you have already gone through several previous bleachings, don’t try it at home. In these cases, a professional colorist can save your hair.
Very Important!
Bleaching your hair at home is not impossible, but it requires information, preparation and a lot of respect for the process. Avoiding these mistakes can save you months of recovery, hundreds of dollars in products and, most importantly, the health of your hair.
Invest in good products, follow each step and always remember that a beautiful color is not worth it if you are left with destroyed hair.